Skip to content

For HVAC technicians, mastering superheat and subcooling isn’t just textbook knowledge – it’s the backbone of keeping systems running right. These measurements are your early warning system, helping you protect expensive equipment and squeeze every bit of efficiency out of your installations. Let’s dive deep into what these measurements mean, how to take them properly, and why they matter so much in the field.
Superheat: The Essentials
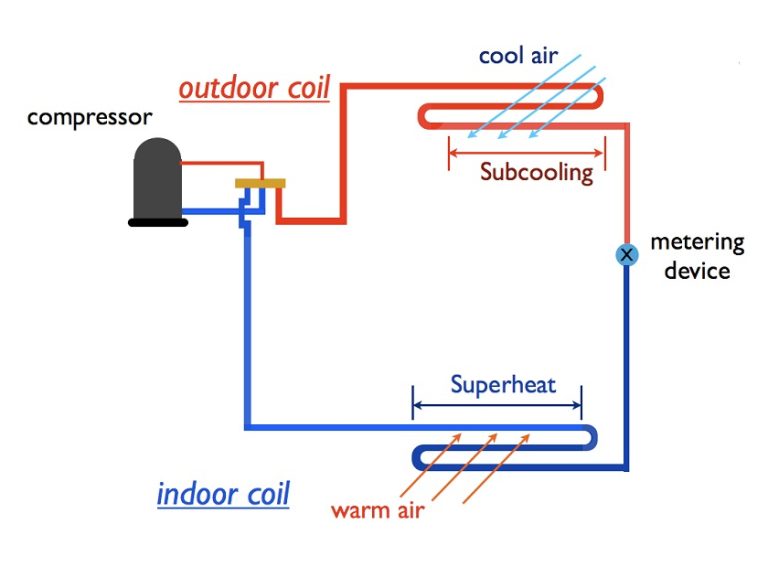
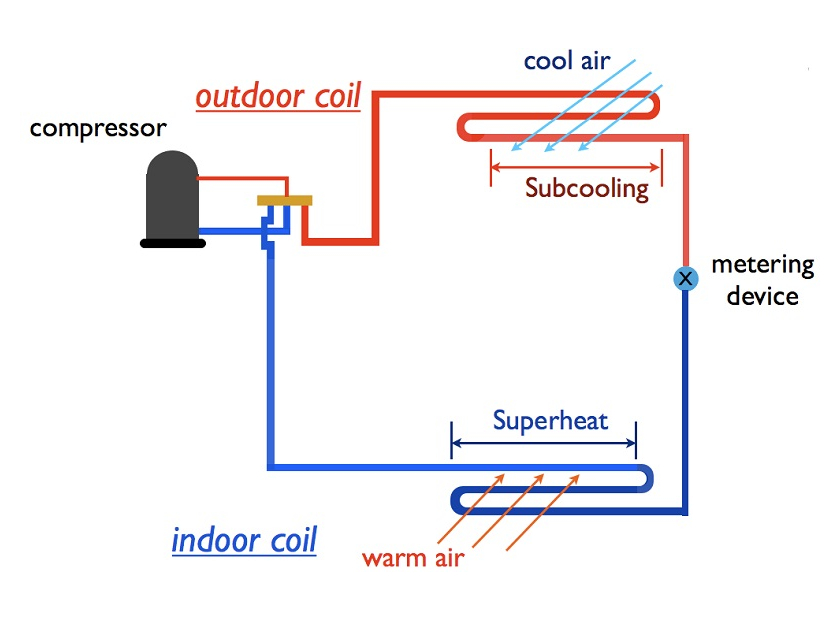
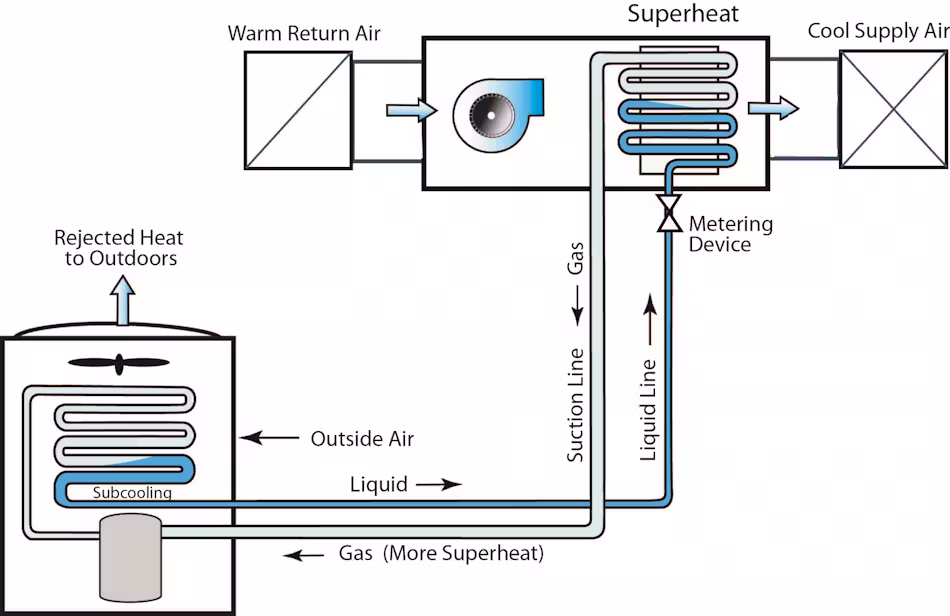
When we talk about superheat, we’re looking at that extra heat the refrigerant vapor soaks up after it hits its boiling point inside the evaporator coil. Think of it as bonus heat – the amount of heat energy the refrigerant keeps absorbing even after it’s completely transformed from liquid to vapor. This tells you exactly how much heat that refrigerant’s picking up while it moves through your evaporator.
Watch those readings carefully – high superheat usually means you’re running low on refrigerant, which kills efficiency and risks overheating. Too low? That’s even worse – you might be sending liquid refrigerant straight to your compressor, and nobody wants that headache.
Getting an Accurate Superheat Reading
Here’s your step-by-step game plan for measuring superheat:
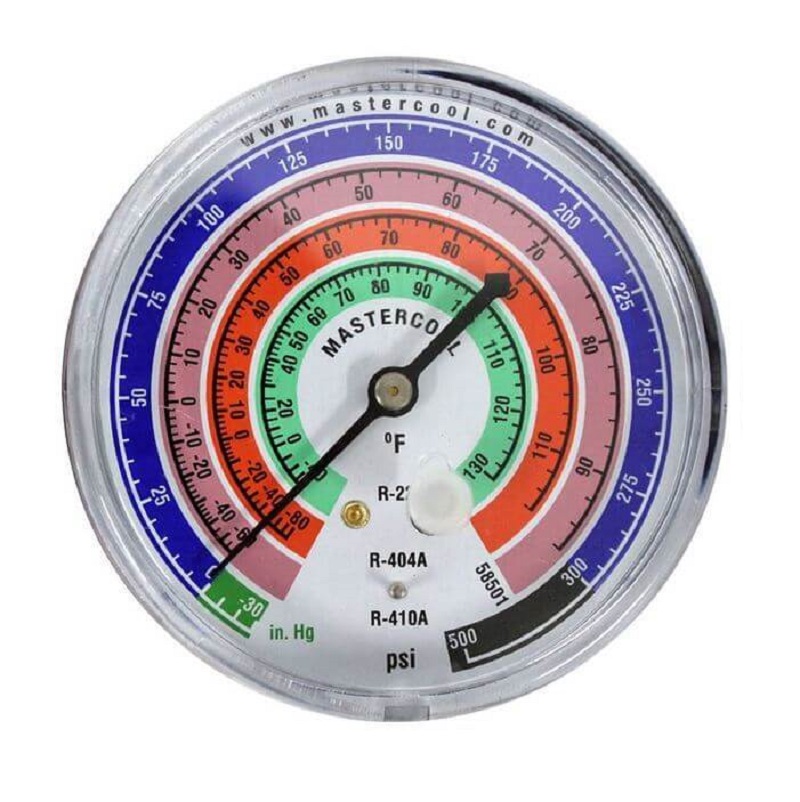
- Start with Suction Pressure: Hook your gauge manifold to the suction line service valve to get that compressor suction pressure
- Find Your Saturation Temperature: Pull out your pressure/temperature chart and convert that suction pressure number
- Let Things Stabilize: Give it a good 15-20 minutes – rushing this step will get you bad readings
- Get Your Suction Line Temperature: Use a digital probe right near that service valve
- Do the Math: Subtract your saturation temperature from what you measured on the line
Here’s how it plays out in real life with R-410a:
- Your suction pressure reads 125 psi
- P/T chart shows that’s 43°F saturation temperature
- Your suction line probe shows 53°F
- Quick math: 53°F – 43°F = 10°F superheat
The Two Types of Superheat You Need to Know
Your evaporator superheat and total superheat tell different stories:
- Evaporator Superheat:
- Measured right where refrigerant exits the evaporator
- You’ll need that 1/4-inch access port on your suction line
- This is what your TXV is controlling
- Total Superheat:
- Includes everything – both evaporator superheat and whatever heat gets picked up along the suction line
- This is what your compressor manufacturer cares about
- Most TXVs are set to maintain evaporator superheat between 8-12°F. That’s their sweet spot for controlling refrigerant flow. Your compressor manufacturer probably wants to see total superheat around 10-15°F to keep things running cool and happy.
Understanding Subcooling
When you check the other end of your setup, you’ll find subcooling happening – it shows how cold your liquid refrigerant gets past its normal cooling point as it moves out of the condenser. This tells you whether your system has the right amount of liquid ready to go. When you see high subcooling numbers, you can feel good knowing your system probably has enough refrigerant, but if those numbers drop too low, you might be running short.
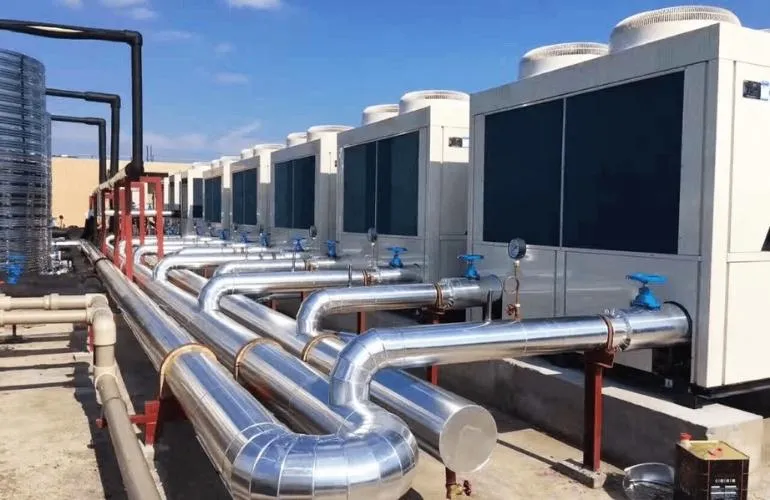
Do you know what are chillers in HVAC?
Taking Solid Subcooling Measurements
Follow these steps to get readings you can trust:
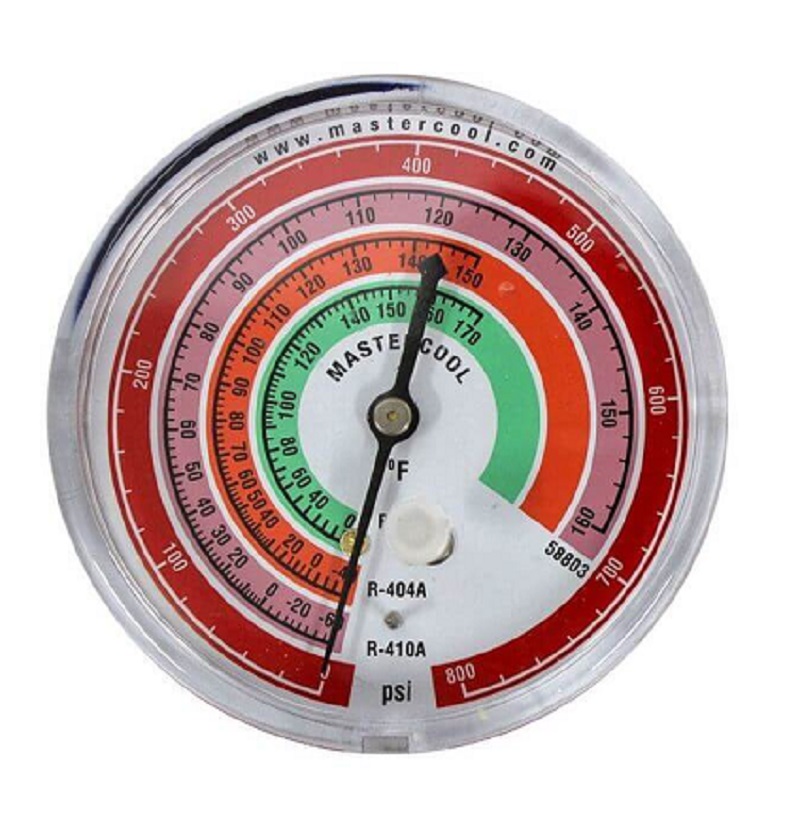
- Get Connected: Hook your manifold to that liquid line service port on your condenser
- Check Your Numbers: Convert liquid line pressure to saturation temperature using your charts
- Wait It Out: Give your system 15-20 minutes to find its groove
- Check Temperature: Get that liquid line reading with your probe
- Calculate: Saturation temperature minus your measured temperature equals subcooling
Let’s walk through a real example with R-410a:
- Your condensing pressure shows 280 psi
- Charts say that’s 91°F saturation
- Liquid line’s running at 83°F
- Math shows: 91°F – 83°F = 8°F subcooling
Breaking Down Subcooling Types
Just like superheat, subcooling comes in two flavors:
- Condenser Subcooling:
- What you measure right at the condenser outlet
- Shows you how much heat you’re pulling out at this stage
- Total Subcooling:
- Everything combined – condenser subcooling plus whatever extra cooling happens in your liquid line
- Tells you what’s actually hitting your metering device

Why These Measurements Make or Break Your System
Getting accurate superheat and subcooling readings isn’t just by-the-book stuff – it delivers real benefits:
- Better System Efficiency: Right numbers mean optimal refrigerant flow and heat exchange
- Compressor Protection: Good superheat readings keep you safe from flooding or overheating
- Better Diagnostics: These numbers tell you exactly what’s going wrong
- Refrigerant Control: Proper subcooling stops refrigerant from wandering where it shouldn’t
Common Problems Your Readings Reveal
Here’s what different numbers might be telling you:
Reading | What’s Wrong | How to Fix It |
High Superheat | Low refrigerant or restricted airflow | Check for leaks, clear airflow paths |
Low Superheat | Overcharged or bad metering device | Adjust charge, inspect TXV |
High Subcooling | System overcharged or condenser issues | Pull some charge, clean condenser |
Low Subcooling | Low on refrigerant or system leak | Add refrigerant, find and fix leaks |
Your Measurement Checklist
Want readings you can stake your reputation on? Follow these steps:
- Use Quality Tools:
- Digital manifolds with temperature clamps give you the best accuracy
- Keep your equipment calibrated
- Proper Setup:
- Always purge those hoses before connecting
- Get your connections right – low side to suction, high side to liquid
- Use insulated probes to keep ambient air from messing with readings
- Double-check you’re using the right P/T chart for your refrigerant
- Give It Time:
- 10-20 minutes minimum for system stabilization
- Don’t rush this step – bad readings lead to bad decisions
Follow this guide, and you’ll keep your systems running at peak performance while avoiding those expensive callbacks and repairs.
Frequently Asked Questions About HVAC Superheat and Subcooling
Q: What should my superheat numbers look like?
Look, every system’s a bit different, but here’s what you want to see: evaporator superheat hanging around 8-12°F, and total superheat between 10-15°F. Stay in these ranges and you’ll keep that compressor happy while your system runs like a top.
Q: Talk to me about normal subcooling values
Most techs aim for 8-12°F, but don’t take that as gospel. Always check what the manufacturer says – they know their equipment best and might want different numbers for peak performance.
Q: Can these readings help me figure out what's wrong with a system?
You bet they can. These numbers are like your system’s vital signs. High superheat? Might be low on juice. Low subcooling? Could be dealing with a leak. Once you know how to read these signs, they’ll tell you exactly where to start looking for trouble.
Q: How do these readings affect my compressor?
Here’s the deal – your compressor’s like a prize fighter. Low superheat means it’s getting slugged with liquid refrigerant, which can knock it out cold. Too high, and it’s running hot enough to burn itself up. Good subcooling makes sure your expansion device gets what it needs to keep everything in balance.
Q: Should I be checking these on every single call?
Look, you don’t need to break out the gauges every time you show up, but it’s never a bad idea during maintenance visits or when you’re hunting down problems. Think of it like checking your tire pressure – maybe not every time you drive, but regularly enough to catch issues early.
Q: What's in my toolbag for measuring these?
Basic setup: gauge manifold, P/T charts, and a reliable temperature probe. Want to make life easier? Grab yourself a digital manifold with temperature clamps. They’re not cheap, but they’ll save you time and headaches in the long run.
Q: Will bad readings jack up my energy bills?
Absolutely. Wrong readings usually mean something’s off – could be refrigerant charge, could be airflow problems. Either way, your system’s working harder than it needs to, and that shows up on the power bill real quick.
Q: How long am I waiting around for good readings?
Give it 15-20 minutes minimum. Yeah, I know everyone’s in a hurry these days, but rushing these readings is like trying to take someone’s temperature while they’re still running – you’re not going to get numbers you can trust.